Wednesday 14 June 2023
Fancy your own seed sculpture? Browse our Superm̶a̶r̶k̶e̶t̶Forest catalogue and place your order now
As SupermarketForest draws to a close we are looking for public venues to donate artist, Andrew Merritt’s seed sculpture creations to. Here you can find out more about what’s in the seed sculptures and how can you get involved.
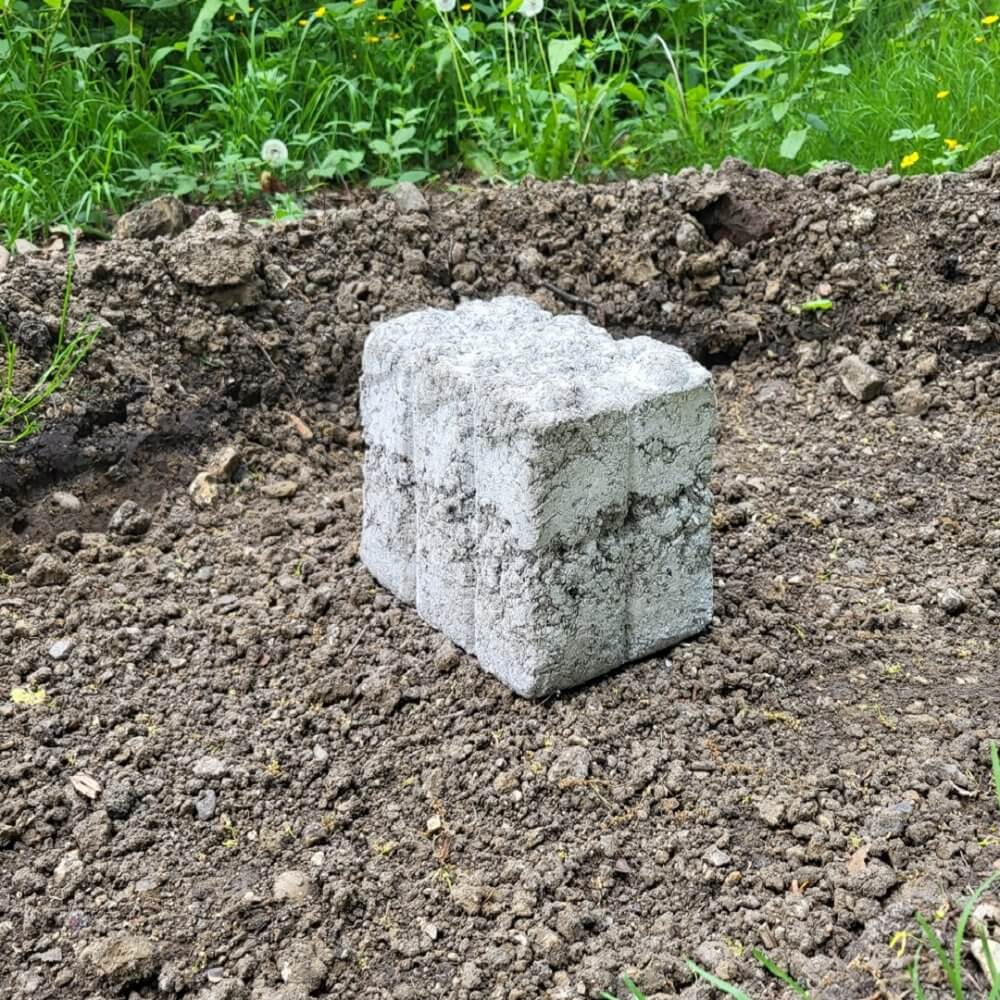
We have a catalogue of the sculptures created by artist Andrew Merritt. There are several more sculptures available than initially included here.
If you would like to enquire about receiving a free sculpture for a public space, or to personally purchase a sculpture for individuals please get in touch here: artsinfo@richmondandwandsworth.gov.uk
Making of Sculptures
The sculptures are made from a mix of compost, powdered clay, water and seeds. The mix is made in one of the specially created moulds which are shaped like:
- a stack of anchovy tins
- a six pack of vitamins
- four salsa dip jars
- a six pack of baked beans
- a six pack of Tetra Pak cartons
- four cola bottles
Made from jesmonite, artist Andrew Merritt has used the Three Sister’s technique as inspiration for the sculptures. The technique is a companion planting method, where three different seed types are grown together to support one another, to maintain growth and avoid competition. One of the most well-known examples was developed by Indigenous American tribes and included:
- climbing beans, which fix nitrogen in the soil, supporting the other two crops,
- sweetcorn, providing support for the beans to grow, and
- pumpkins/squashes provide shade and retain moisture with their leaves, increasing humidity which promotes bean pollination.
The seeds have been sourced primarily from the Agroforestry Research Trust.
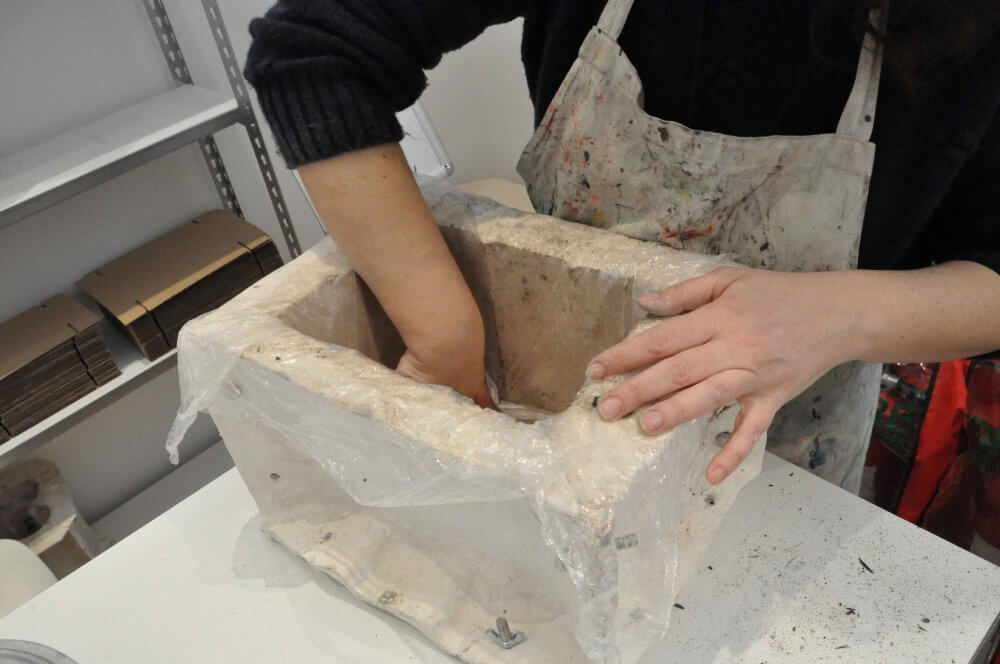
How to Make
Step 1: Pick a mould and line it with clingfilm. The mould used here is the Tetra Pak one.
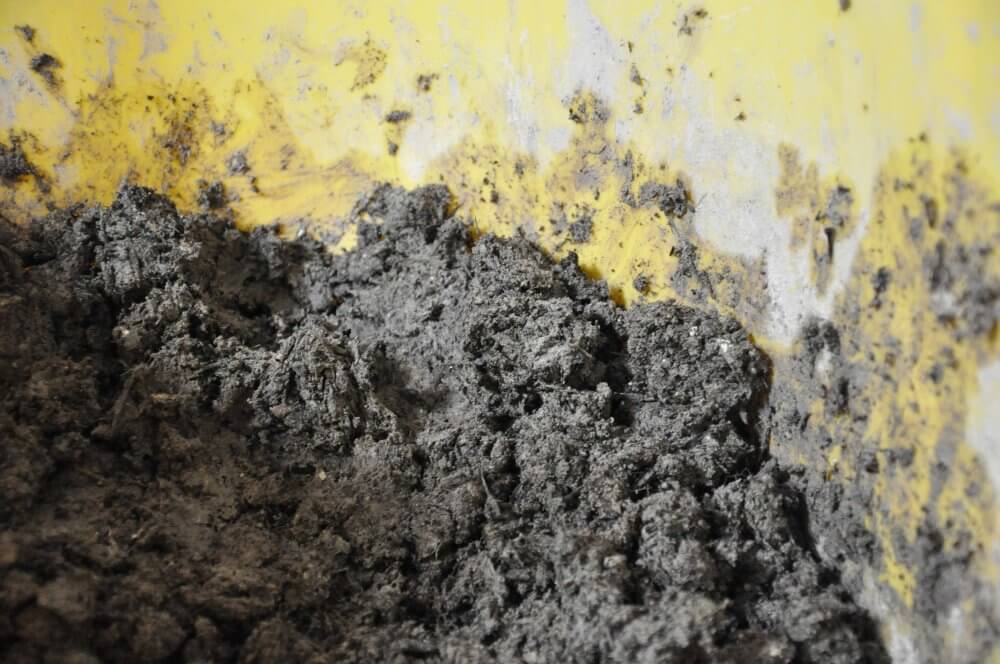
Step 2: Create your mix: put 4 cups of compost with 1 cup of clay and mix together. Add the water gently so that the mix is moist, but not too wet
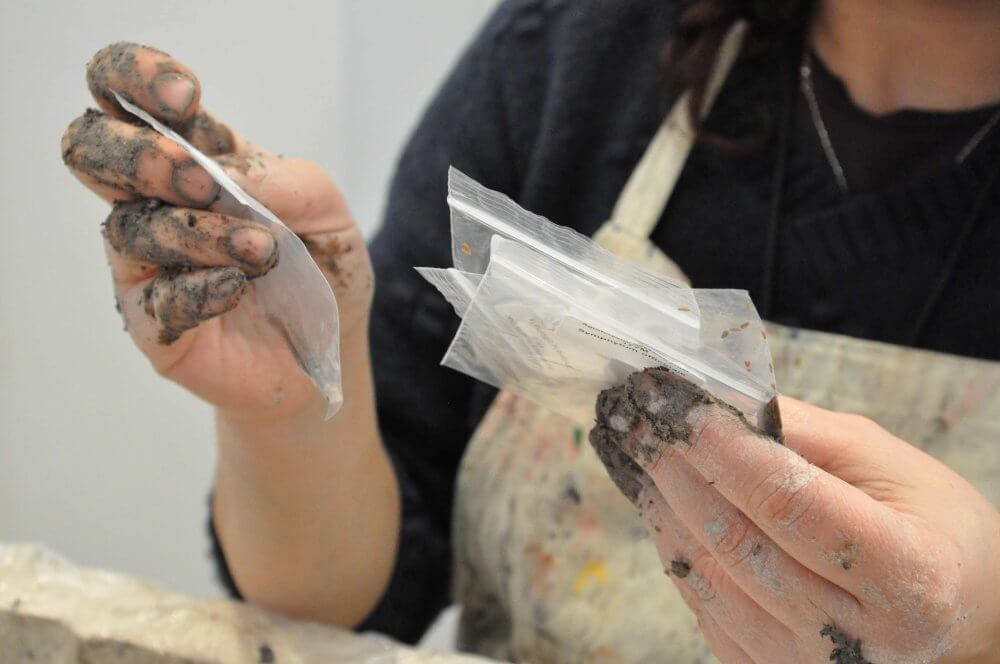
Step 3: Select your seeds. Make sure you write down what you have used.
Step 4: Begin to fill the mould with the mix, pushing down as you go. Every now and then add a layer of seeds.
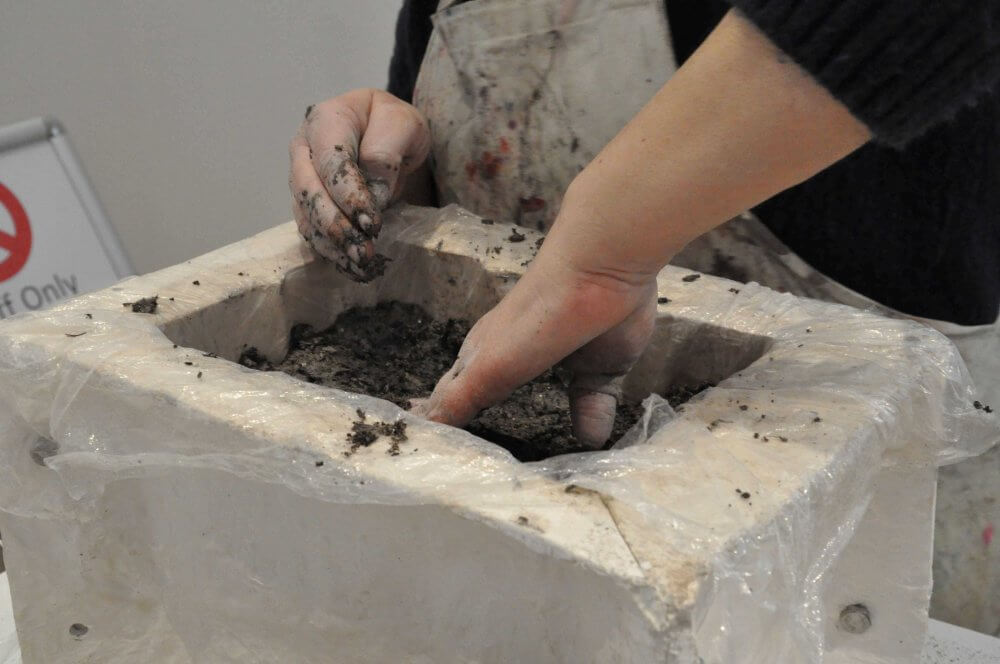
Step 5: Keep going until the mould is full. You may need to make more mix as you go.
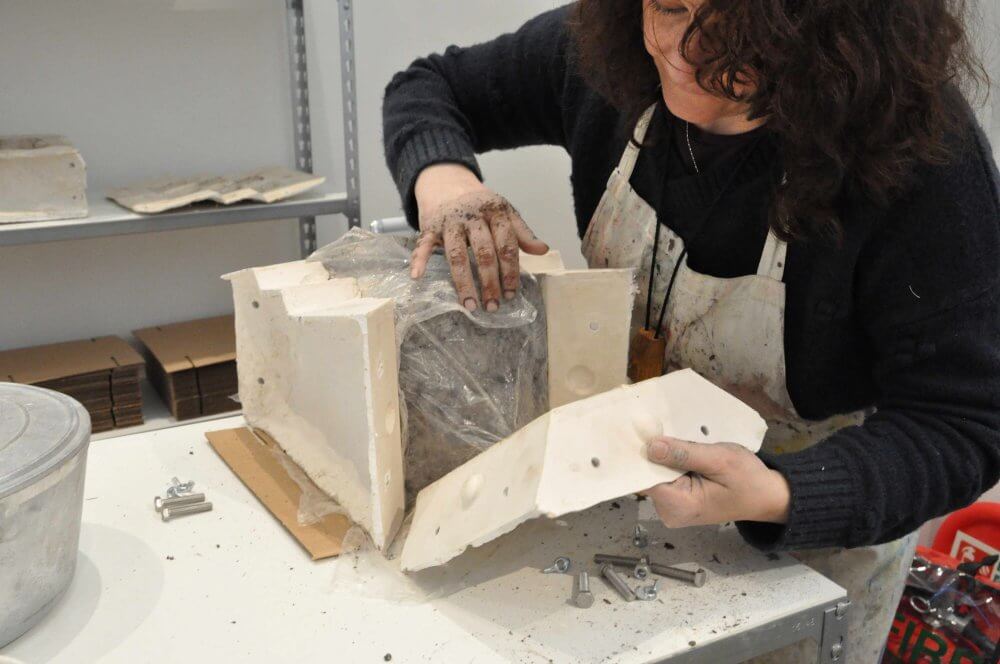
Step 6: Turn the mould over onto a piece of card and slowly remove the top and sides of the mould until the sculpture is revealed.
Find out more about the exhibition and the Cultural Reforesting.