Sunday 3 May 2020
Sunday Afternoon Art – Recycled Rockets
Inspired by our Sunday Afternoon Art sessions, we are posting easy art activities for families online.
Today we are taking inspiration from Richmond Council’s ‘Ask an Astronaut’ interview with Helen Sharman and their project to use materials found at home, such as plastic bottles and paper rolls to create a small rocket.
What do you need?
- Scissors
- Pencil
- Recycled materials (such as plastic bottles or paper rolls or carboard boxes)
- Tape and/or glue
- Colours for decorating your rocket: pens, pencils, paints or collage
Have a look through your recycling to see what you can find. Make sure you wash anything that is dirty and don’t use anything sharp.
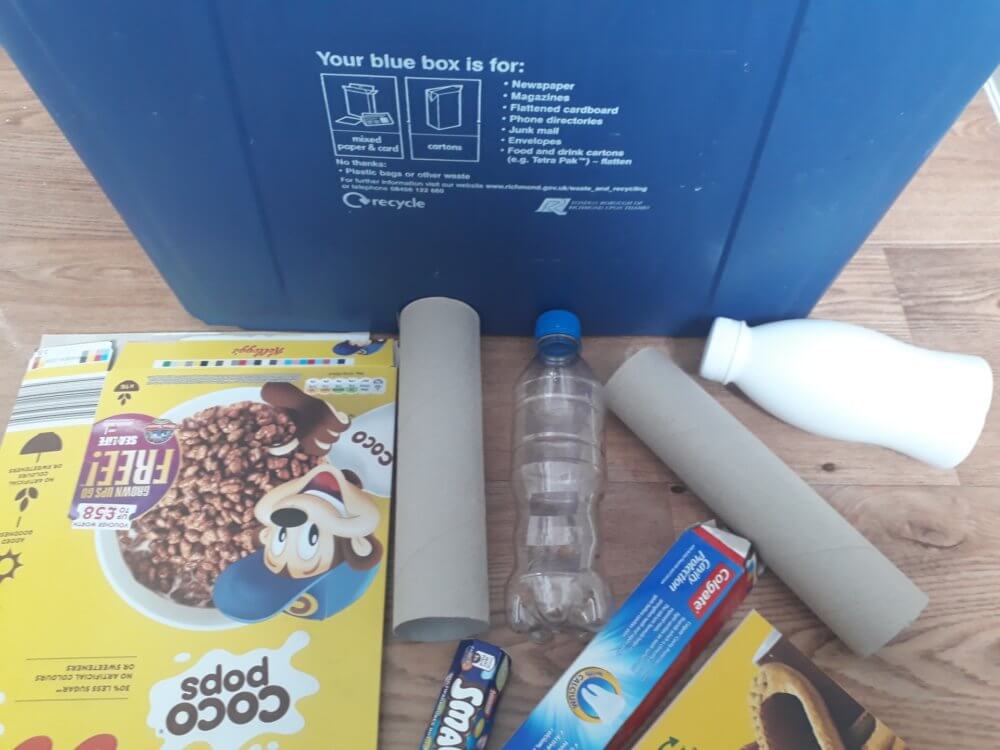
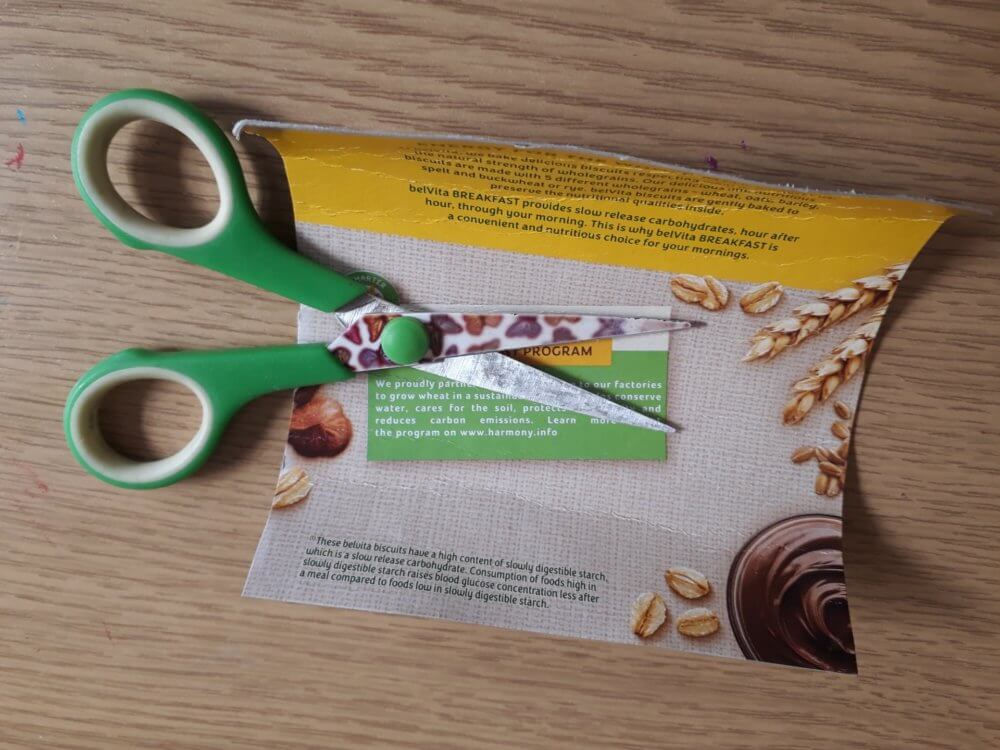
Try to find long cylindrical items if you can, like kitchen roll tubes or bottles. Don’t worry if you can’t – you can make your own cylinder from any cardboard box by cutting a rectangular strip, rolling it into a telescope-shape and taping it together. Make sure you ask an adult for help with any cutting. You will also need an extra cardboard box which you will cut up for more detail on your rocket later.
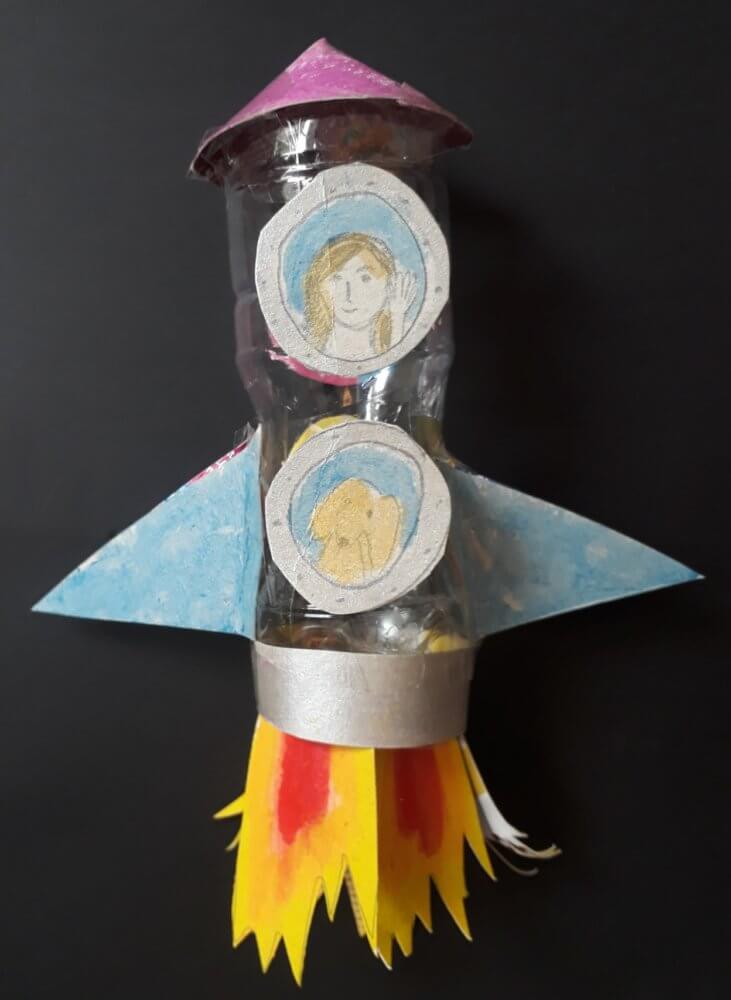
We are using a bottle and a large cereal box for our rocket.
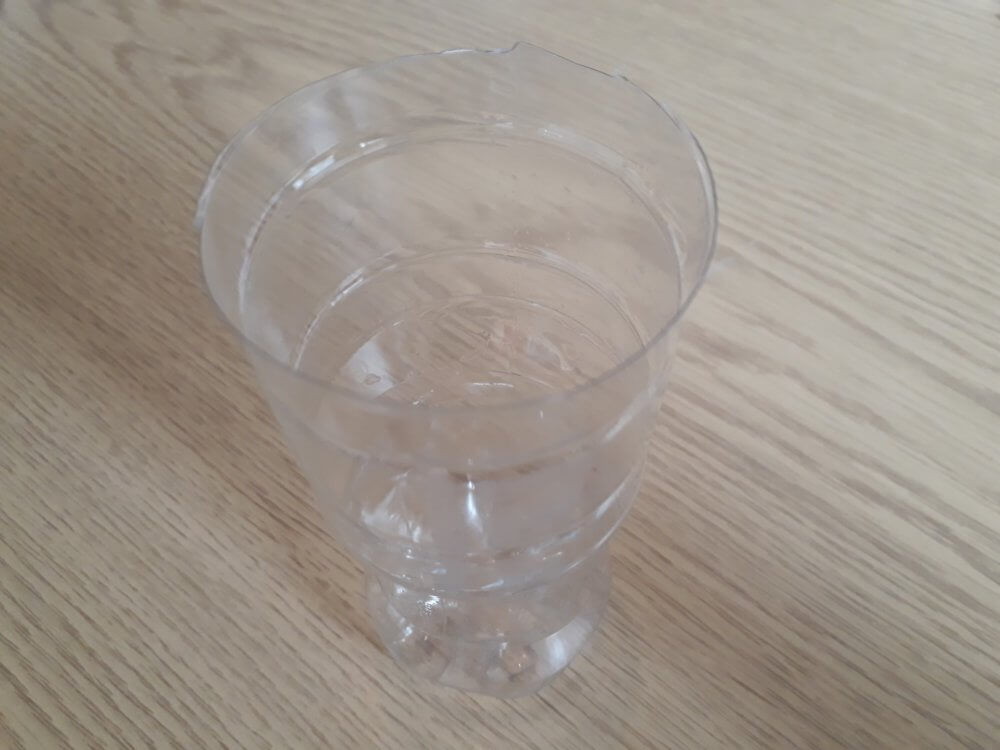
Nose cone: First, we are going to cut the end of the bottle off –you don’t have to do this. If you do, then ask an adult to help.
Using our spare cereal box, draw a circle – we drew around our roll of tape. Draw a line into the centre and cut out and along the line. Colour it in.
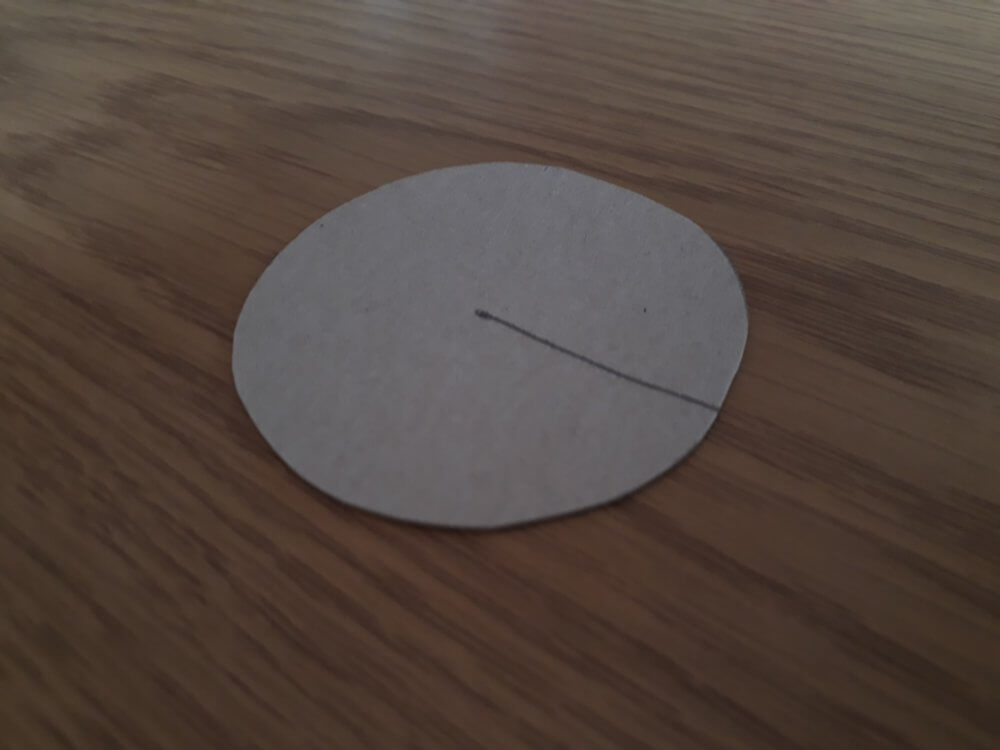
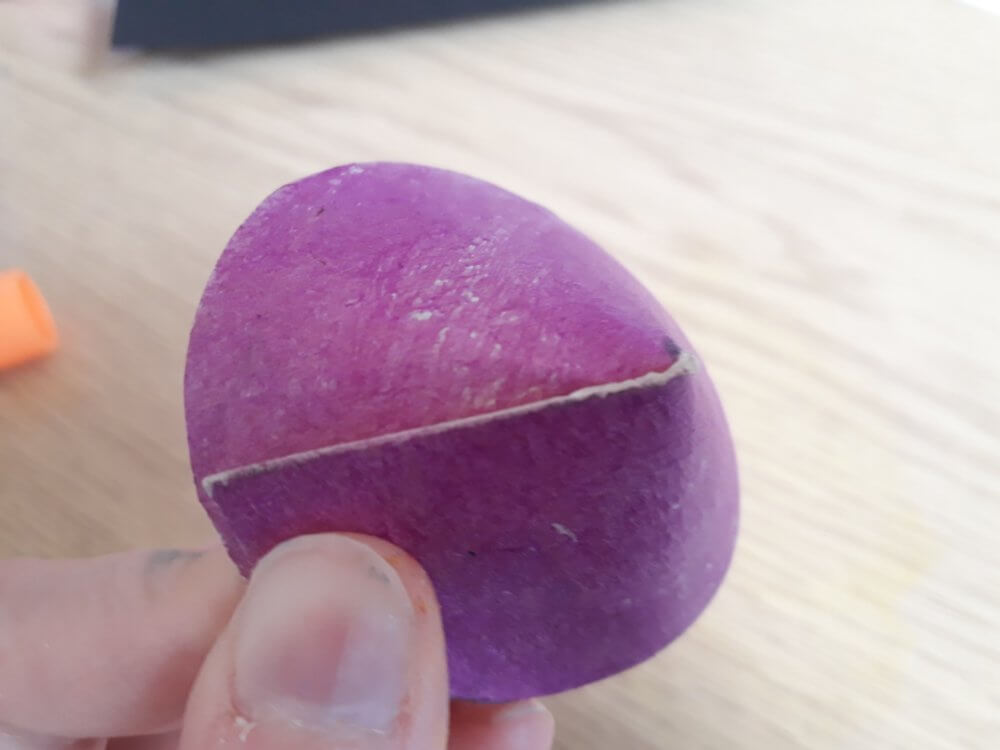
From the slit you have cut, overlap the cardboard to create a cone. We taped ours in place. Attach to the top of your bottle.
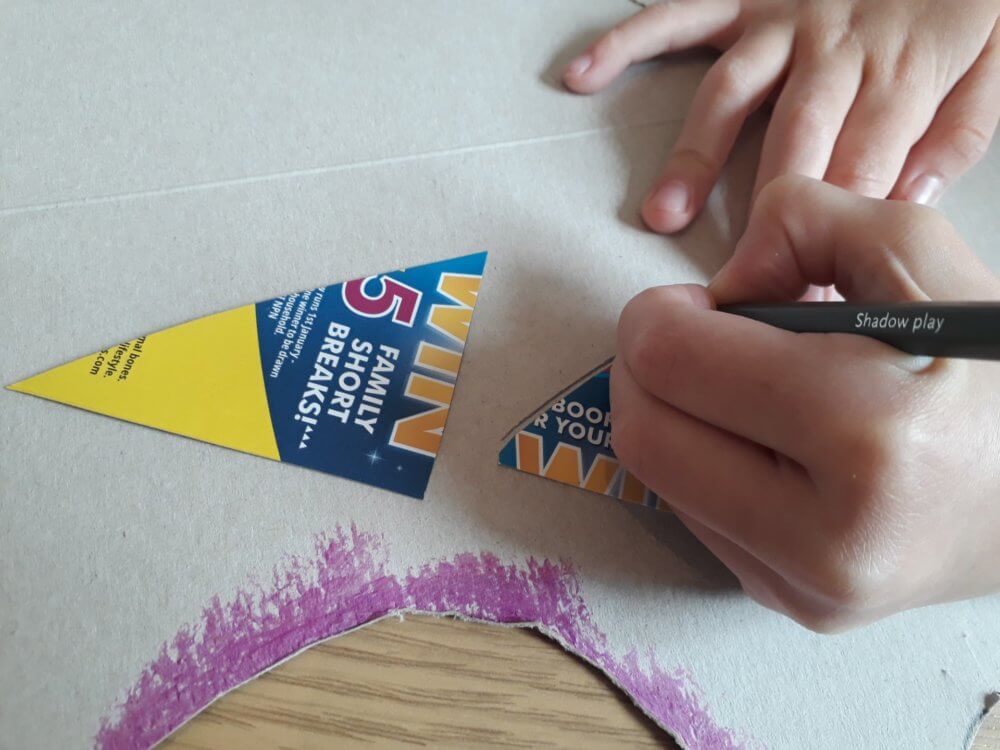
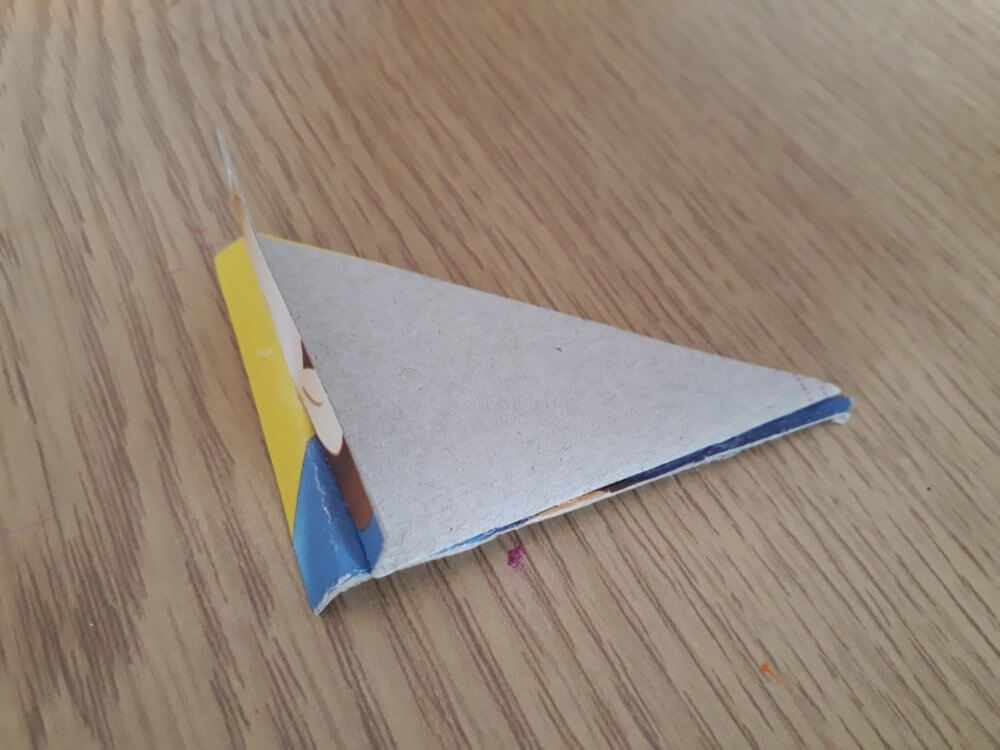
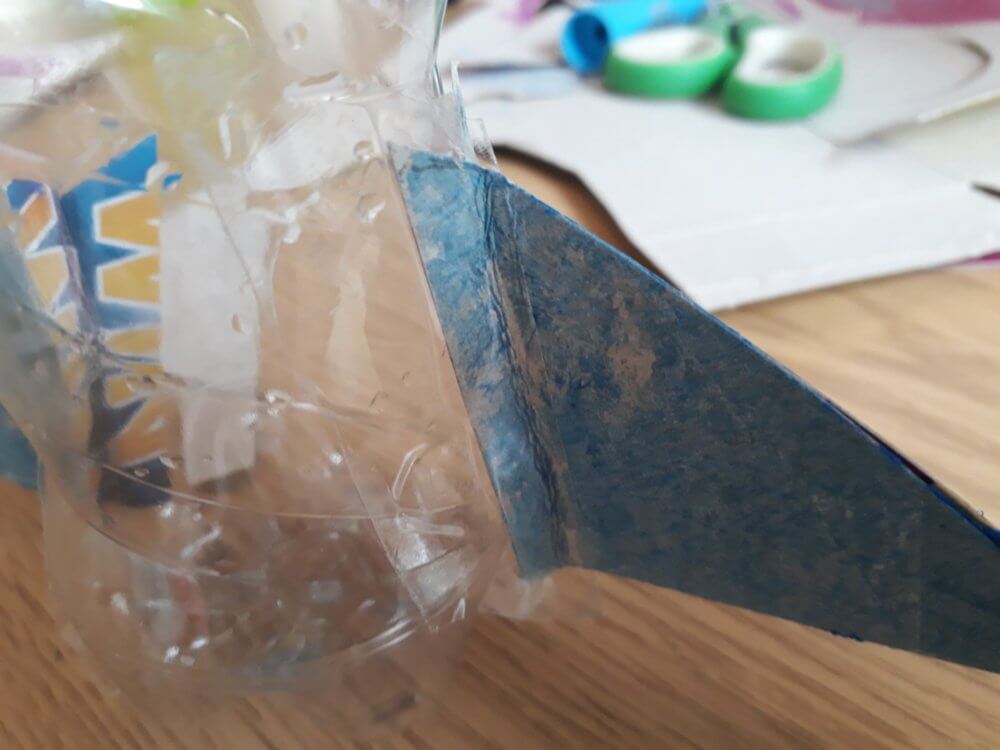
Wings: Optional – not all rockets have wings! Using your cereal box, draw two triangles out. Turn them over and trace over the triangles so that you have 4 triangles. Colour them in and then fold over the end of the triangle to make tabs. Glue/tape the triangles together so that the packaging design is hidden, and then attach to the bottle towards the bottom using the tabs.
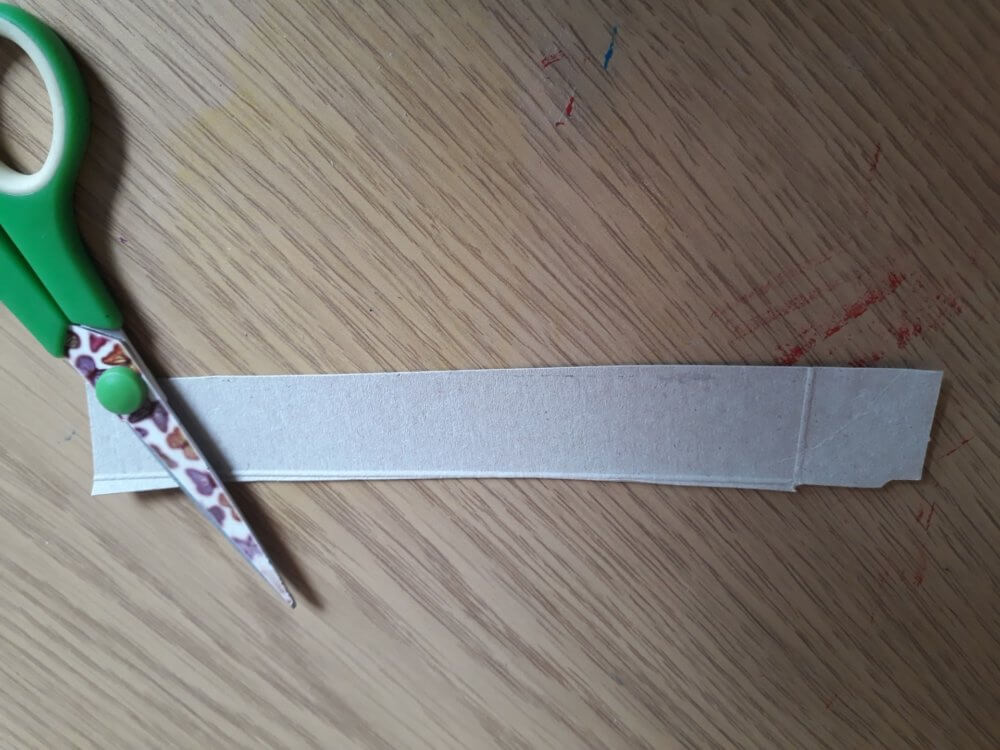
Engine: Cut out a long thin strip of card and colour in.
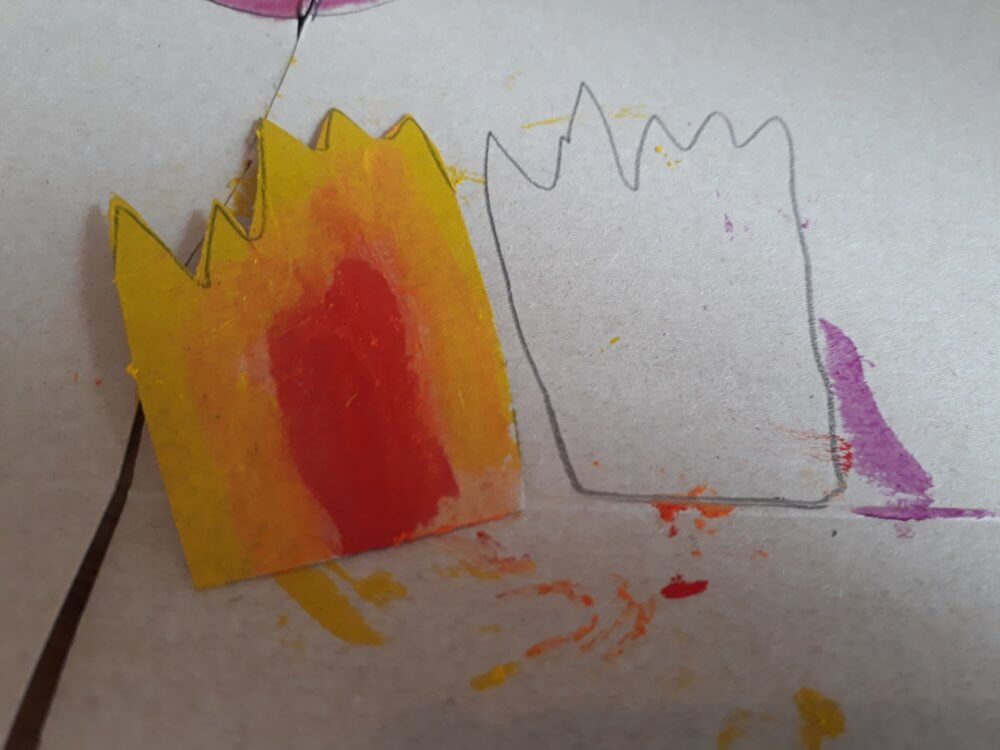
Draw out your flames and colour and cut out. We made five little flames, but you could make one long strip.
Tape to the long strip along the back so the coloured side is facing the same direction on the strip.
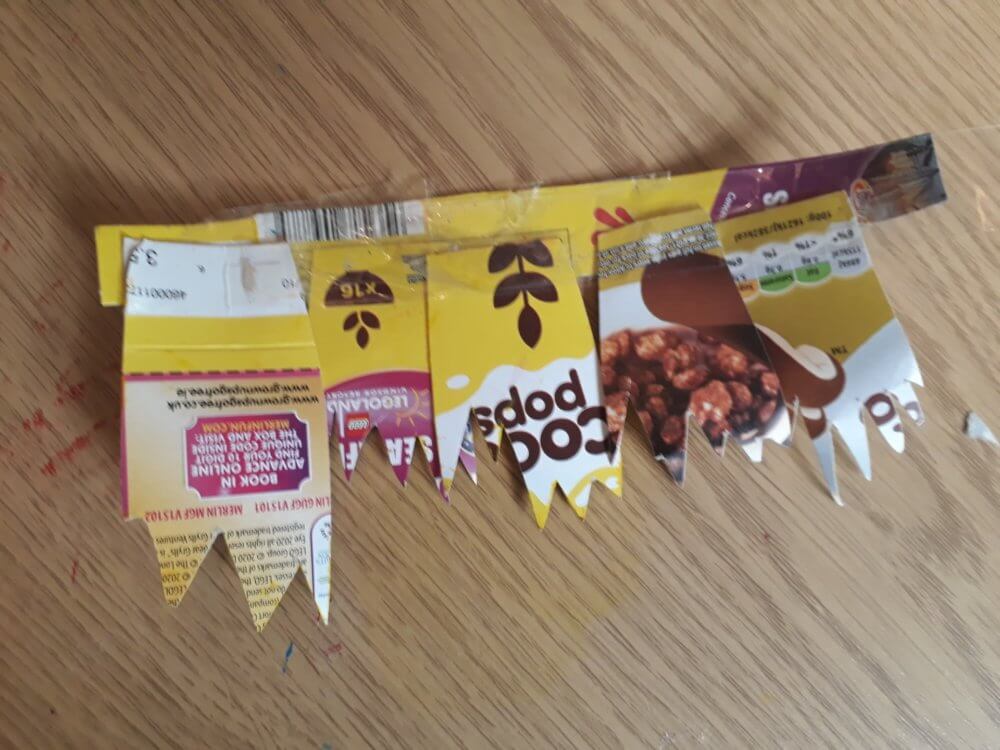
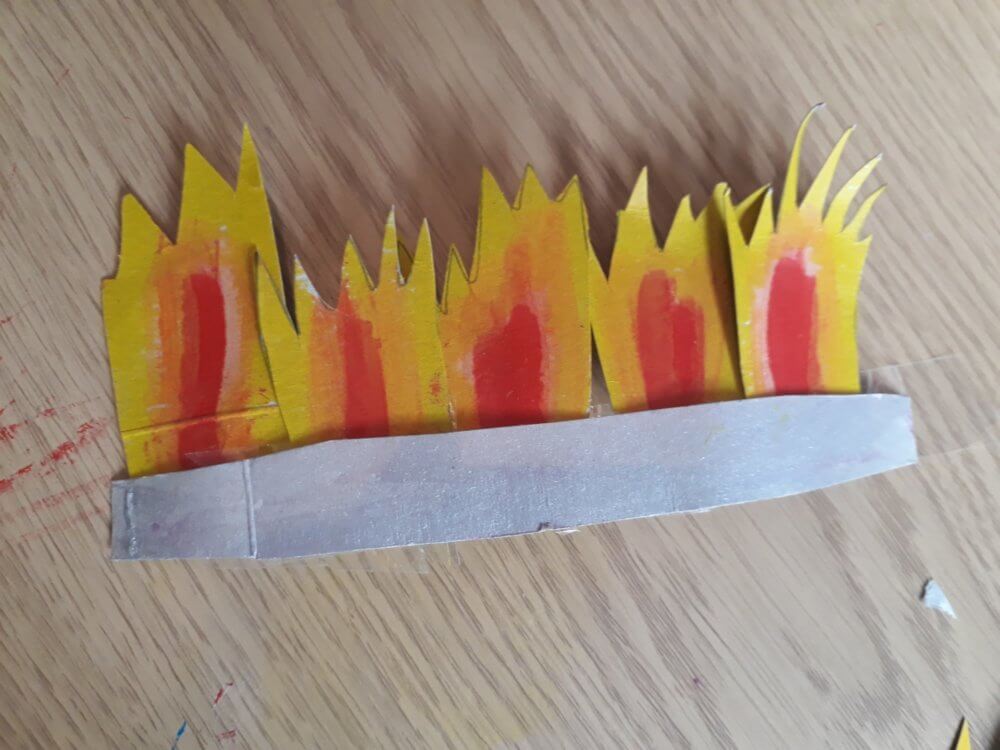
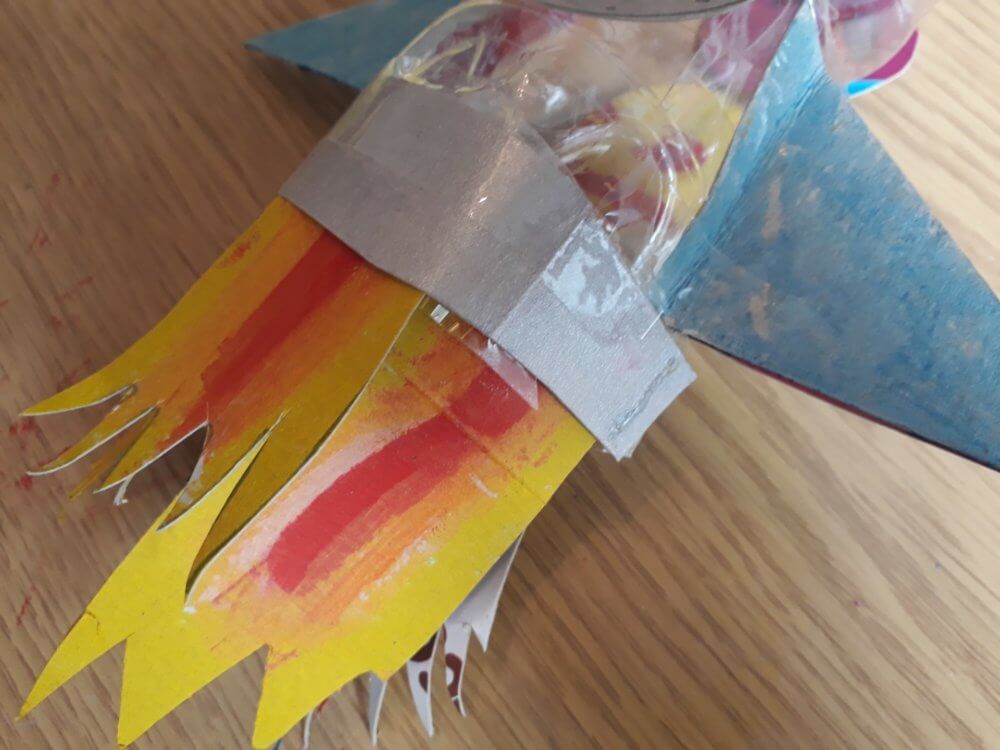
Attach to the bottom of the rocket.
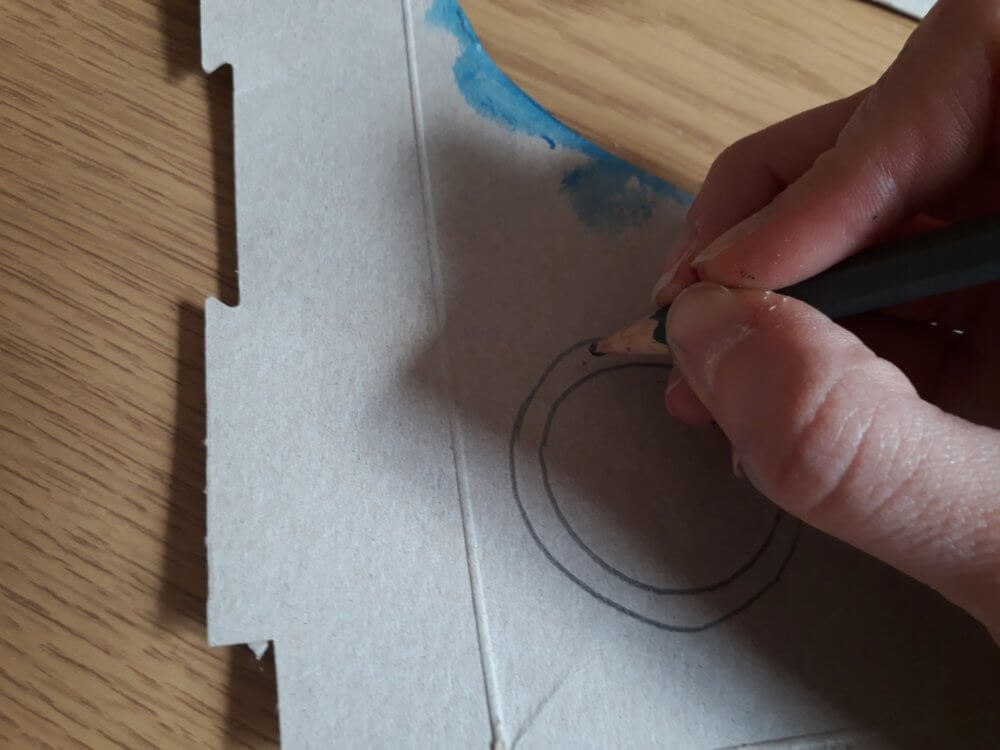
Windows: Draw some windows for your rocket – is there anyone inside? Colour in and cut out. Stick onto the front of your rocket.
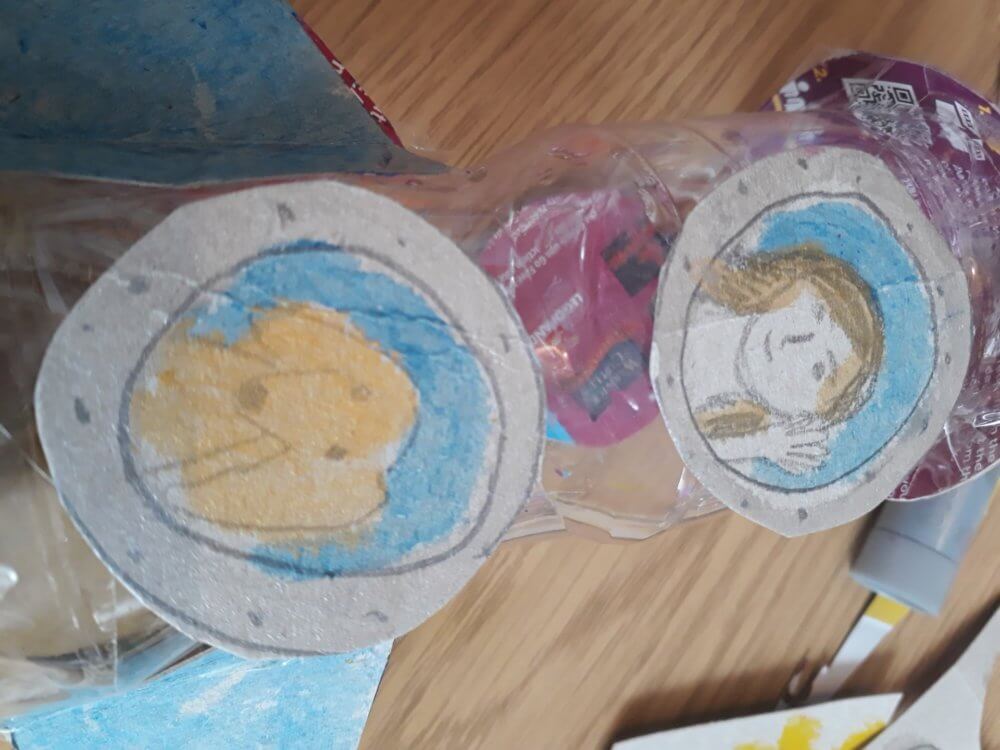
And you have your rocket. Well done.
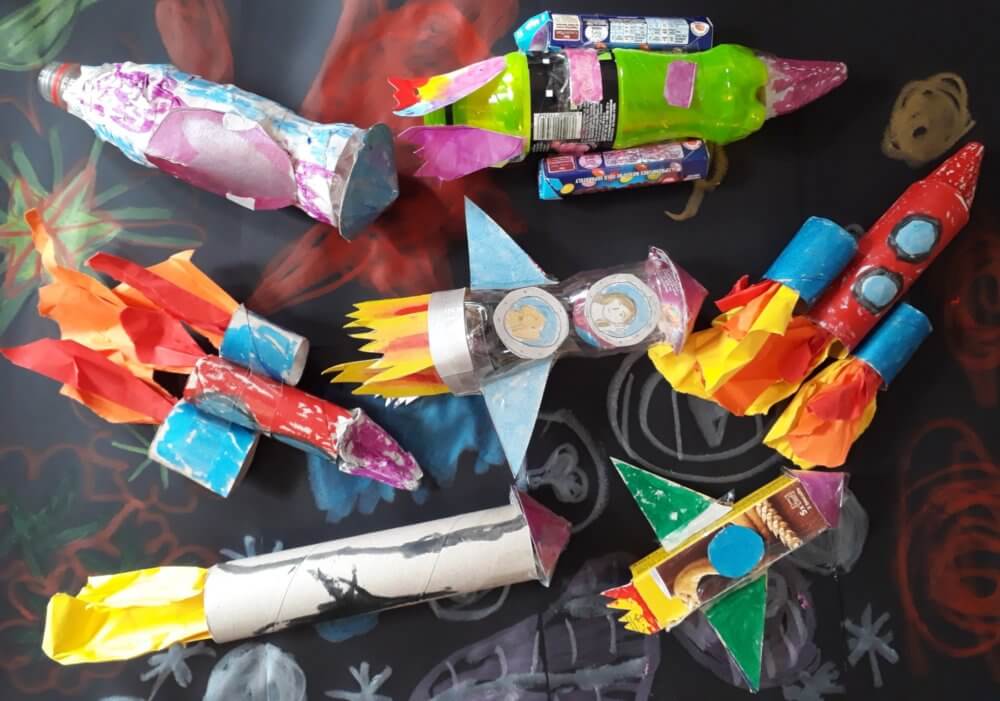
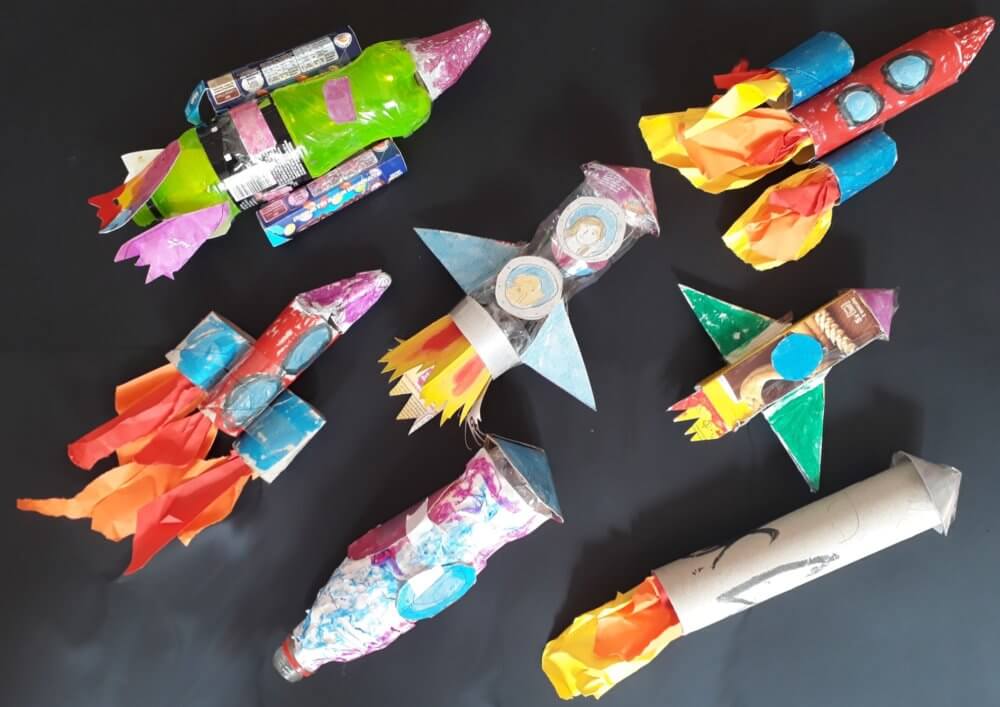
You can make a rocket in lots of ways though, so get creative with what you have in your house. Here are a few more that we made.
Please share your creations at #OrleansHouseGallery